The Best Chocolate Granola, in My World

Fall / Winter


Yes, it’s a little early to start getting excited about snow, or the holidays. But! In preparation for Fall weather I’d say it’s perfectly reasonable to start stocking the pantry with comforting staples.
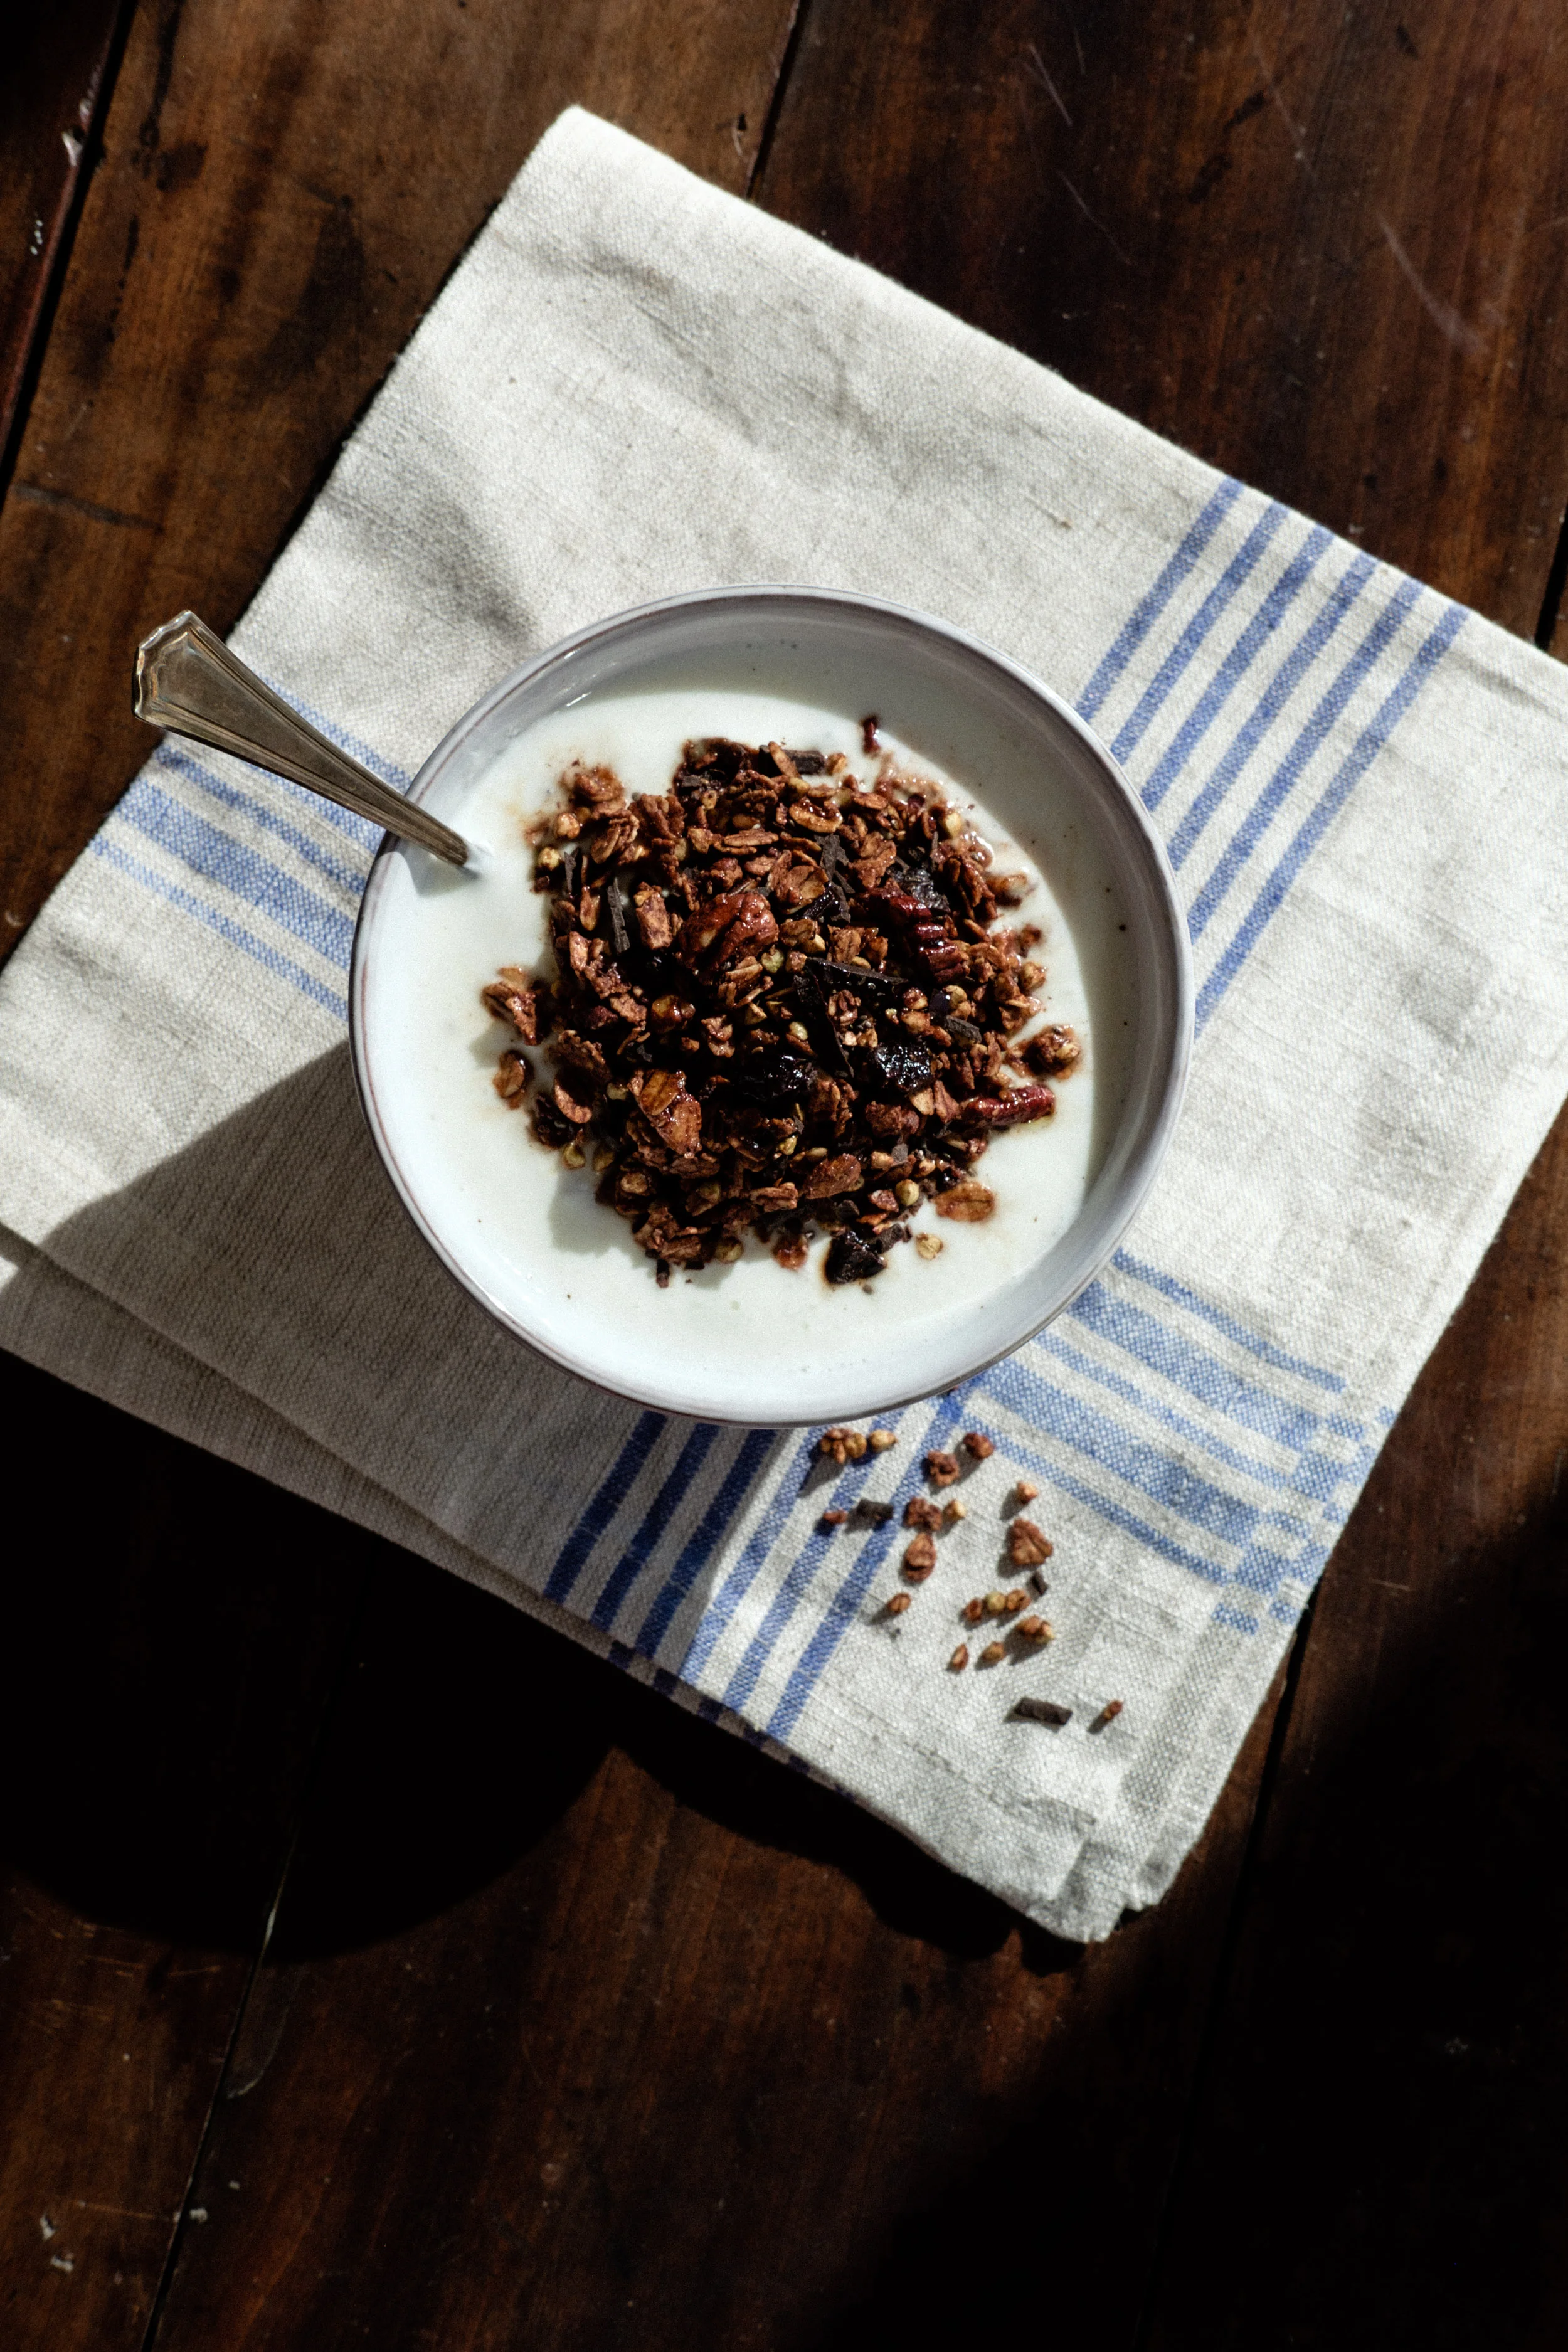
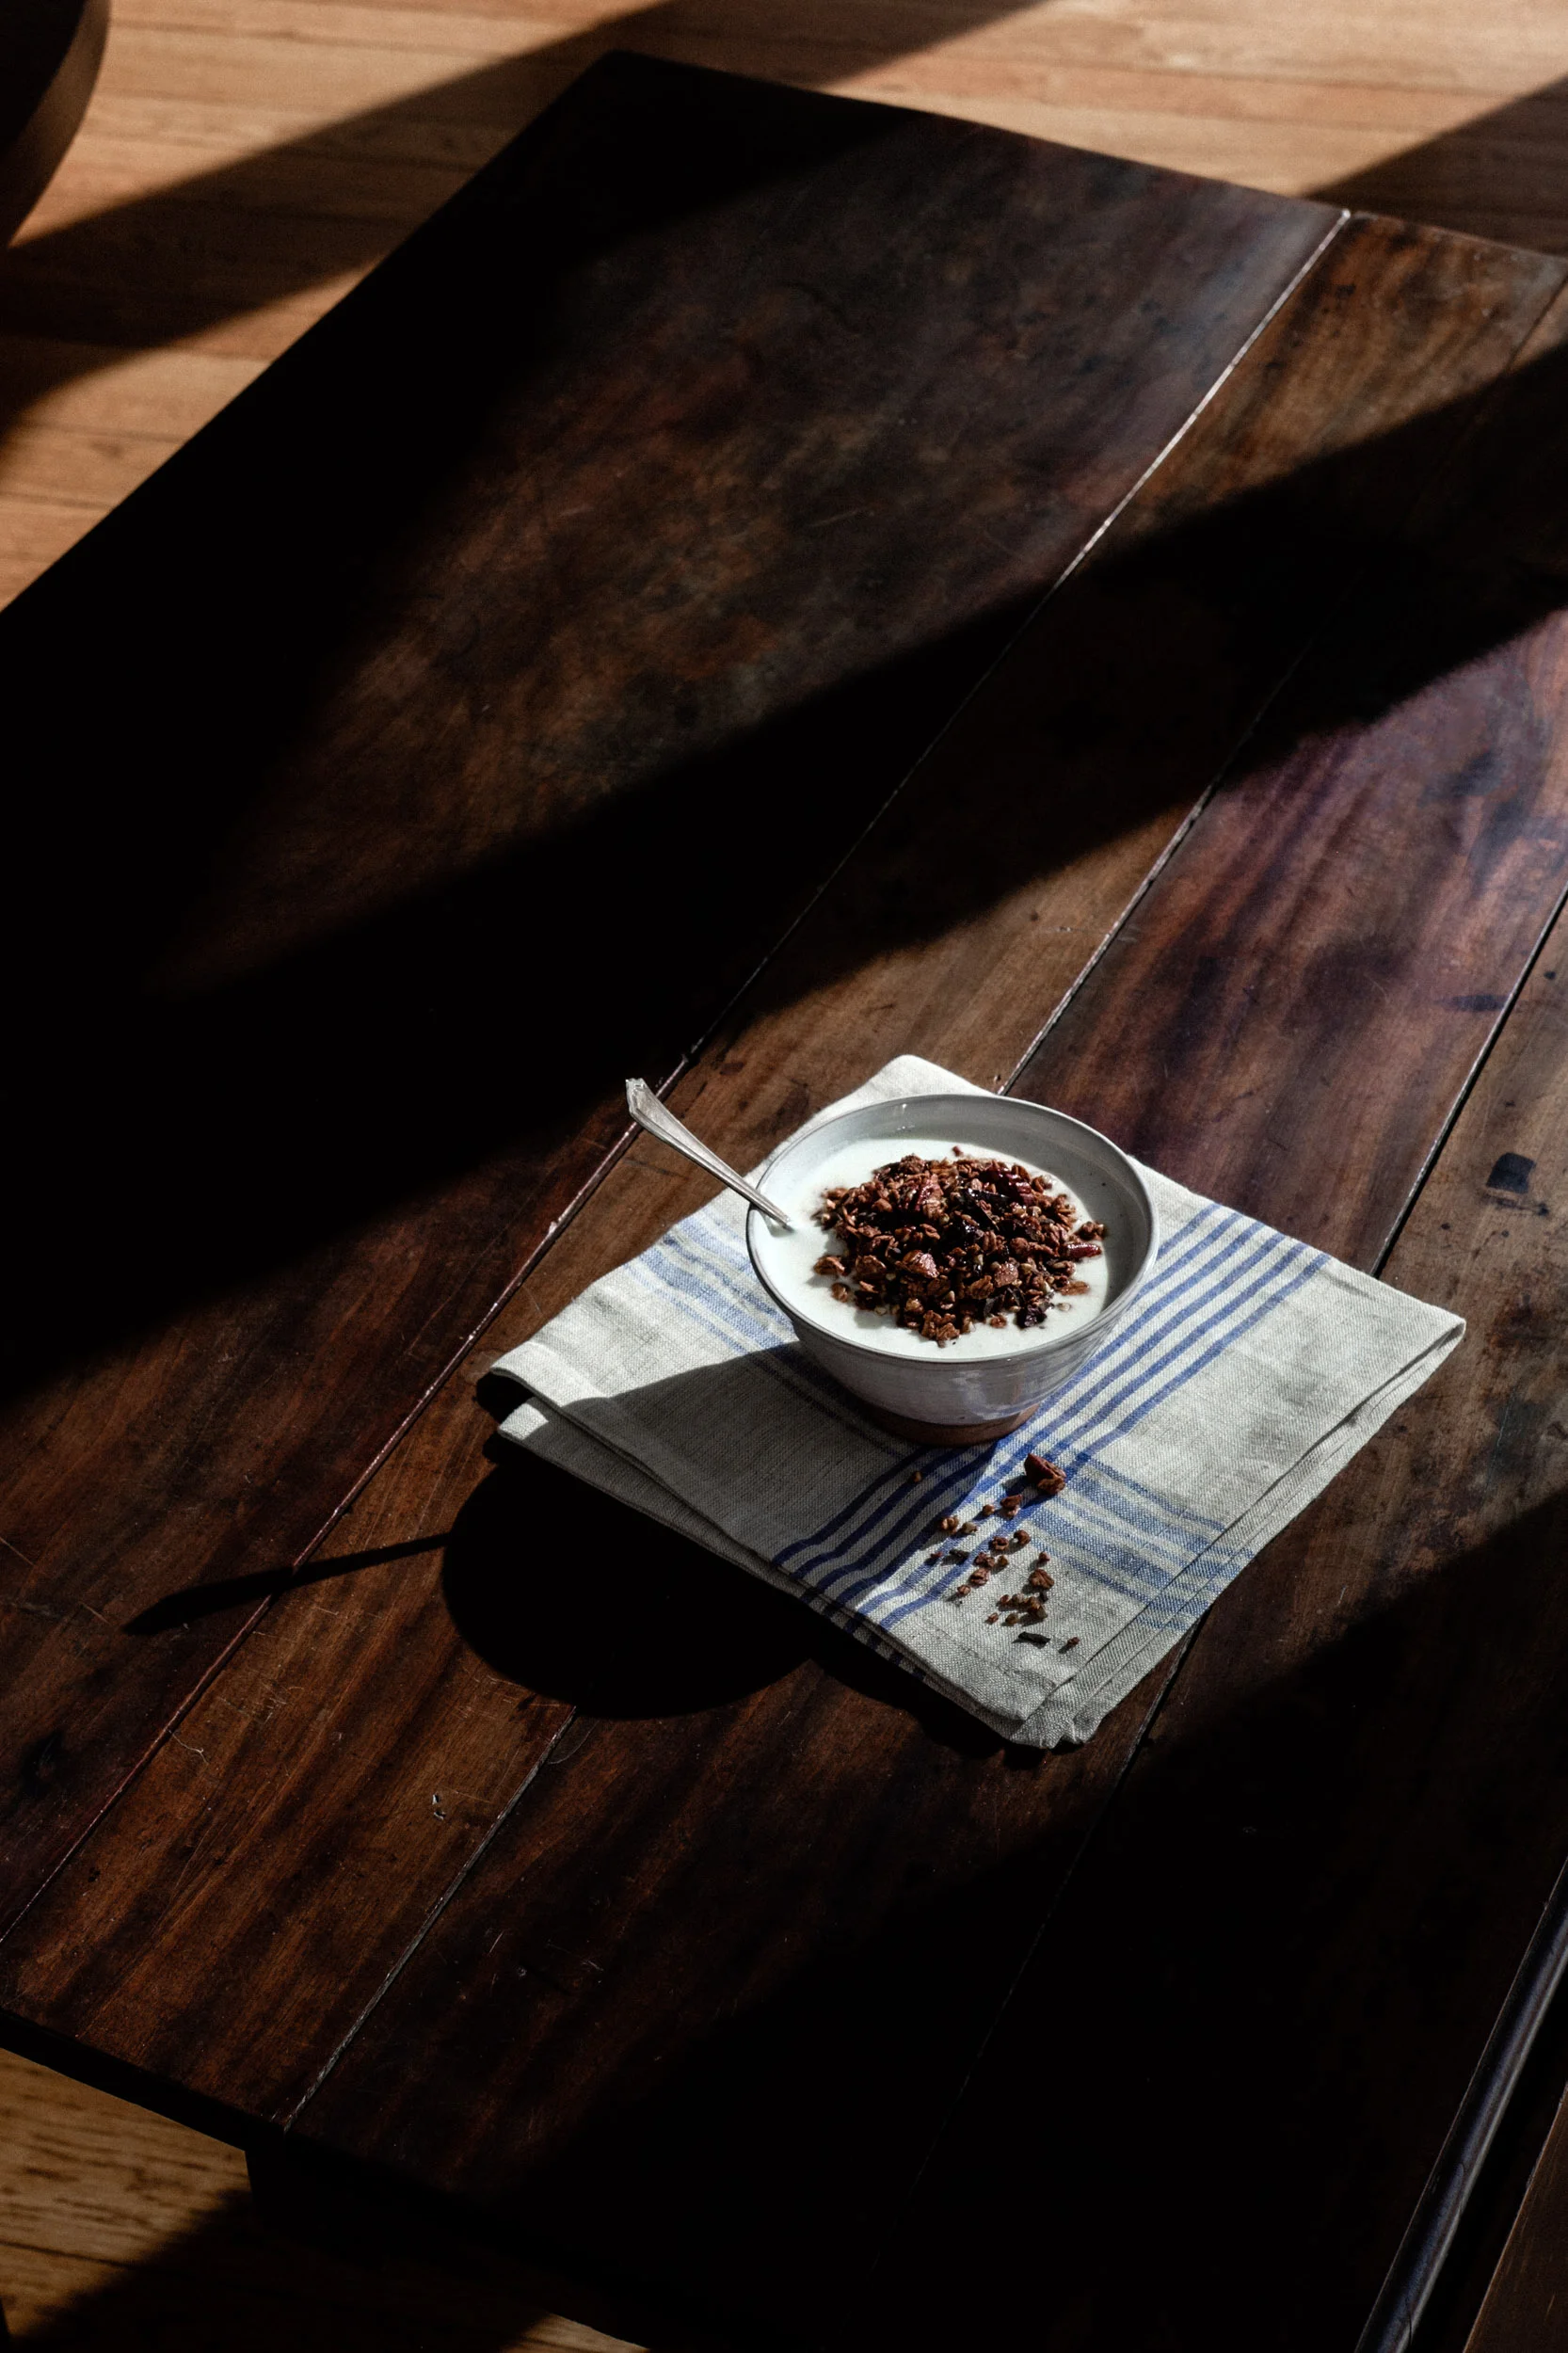
This is the best chocolate granola… in my world at least. It’s easy, healthy, AND it stays crunchy longer than the inevitable accelerated pace of consumption. Unless you’re the only person alive with the discipline to not munch on this as a snack every time you open your pantry.
(For those of you avoiding, this is gluten-free - provided you have gluten free oats/buckwheat groats. It’s also vegan if using vegan chocolate). Let’s dig in!

INGREDIENTS //
Approx servings: Fills approx a 32 ounce glass jar
IN A LARGE BOWL
300g Rolled Oats (not quick oats)
200g Buckwheat Groats (can be raw or toasted)
100g Coconut flakes
100g Dates, dried, finely chopped
150g Nut of your choice, toasted and chopped coarsely
4T Cocoa Powder
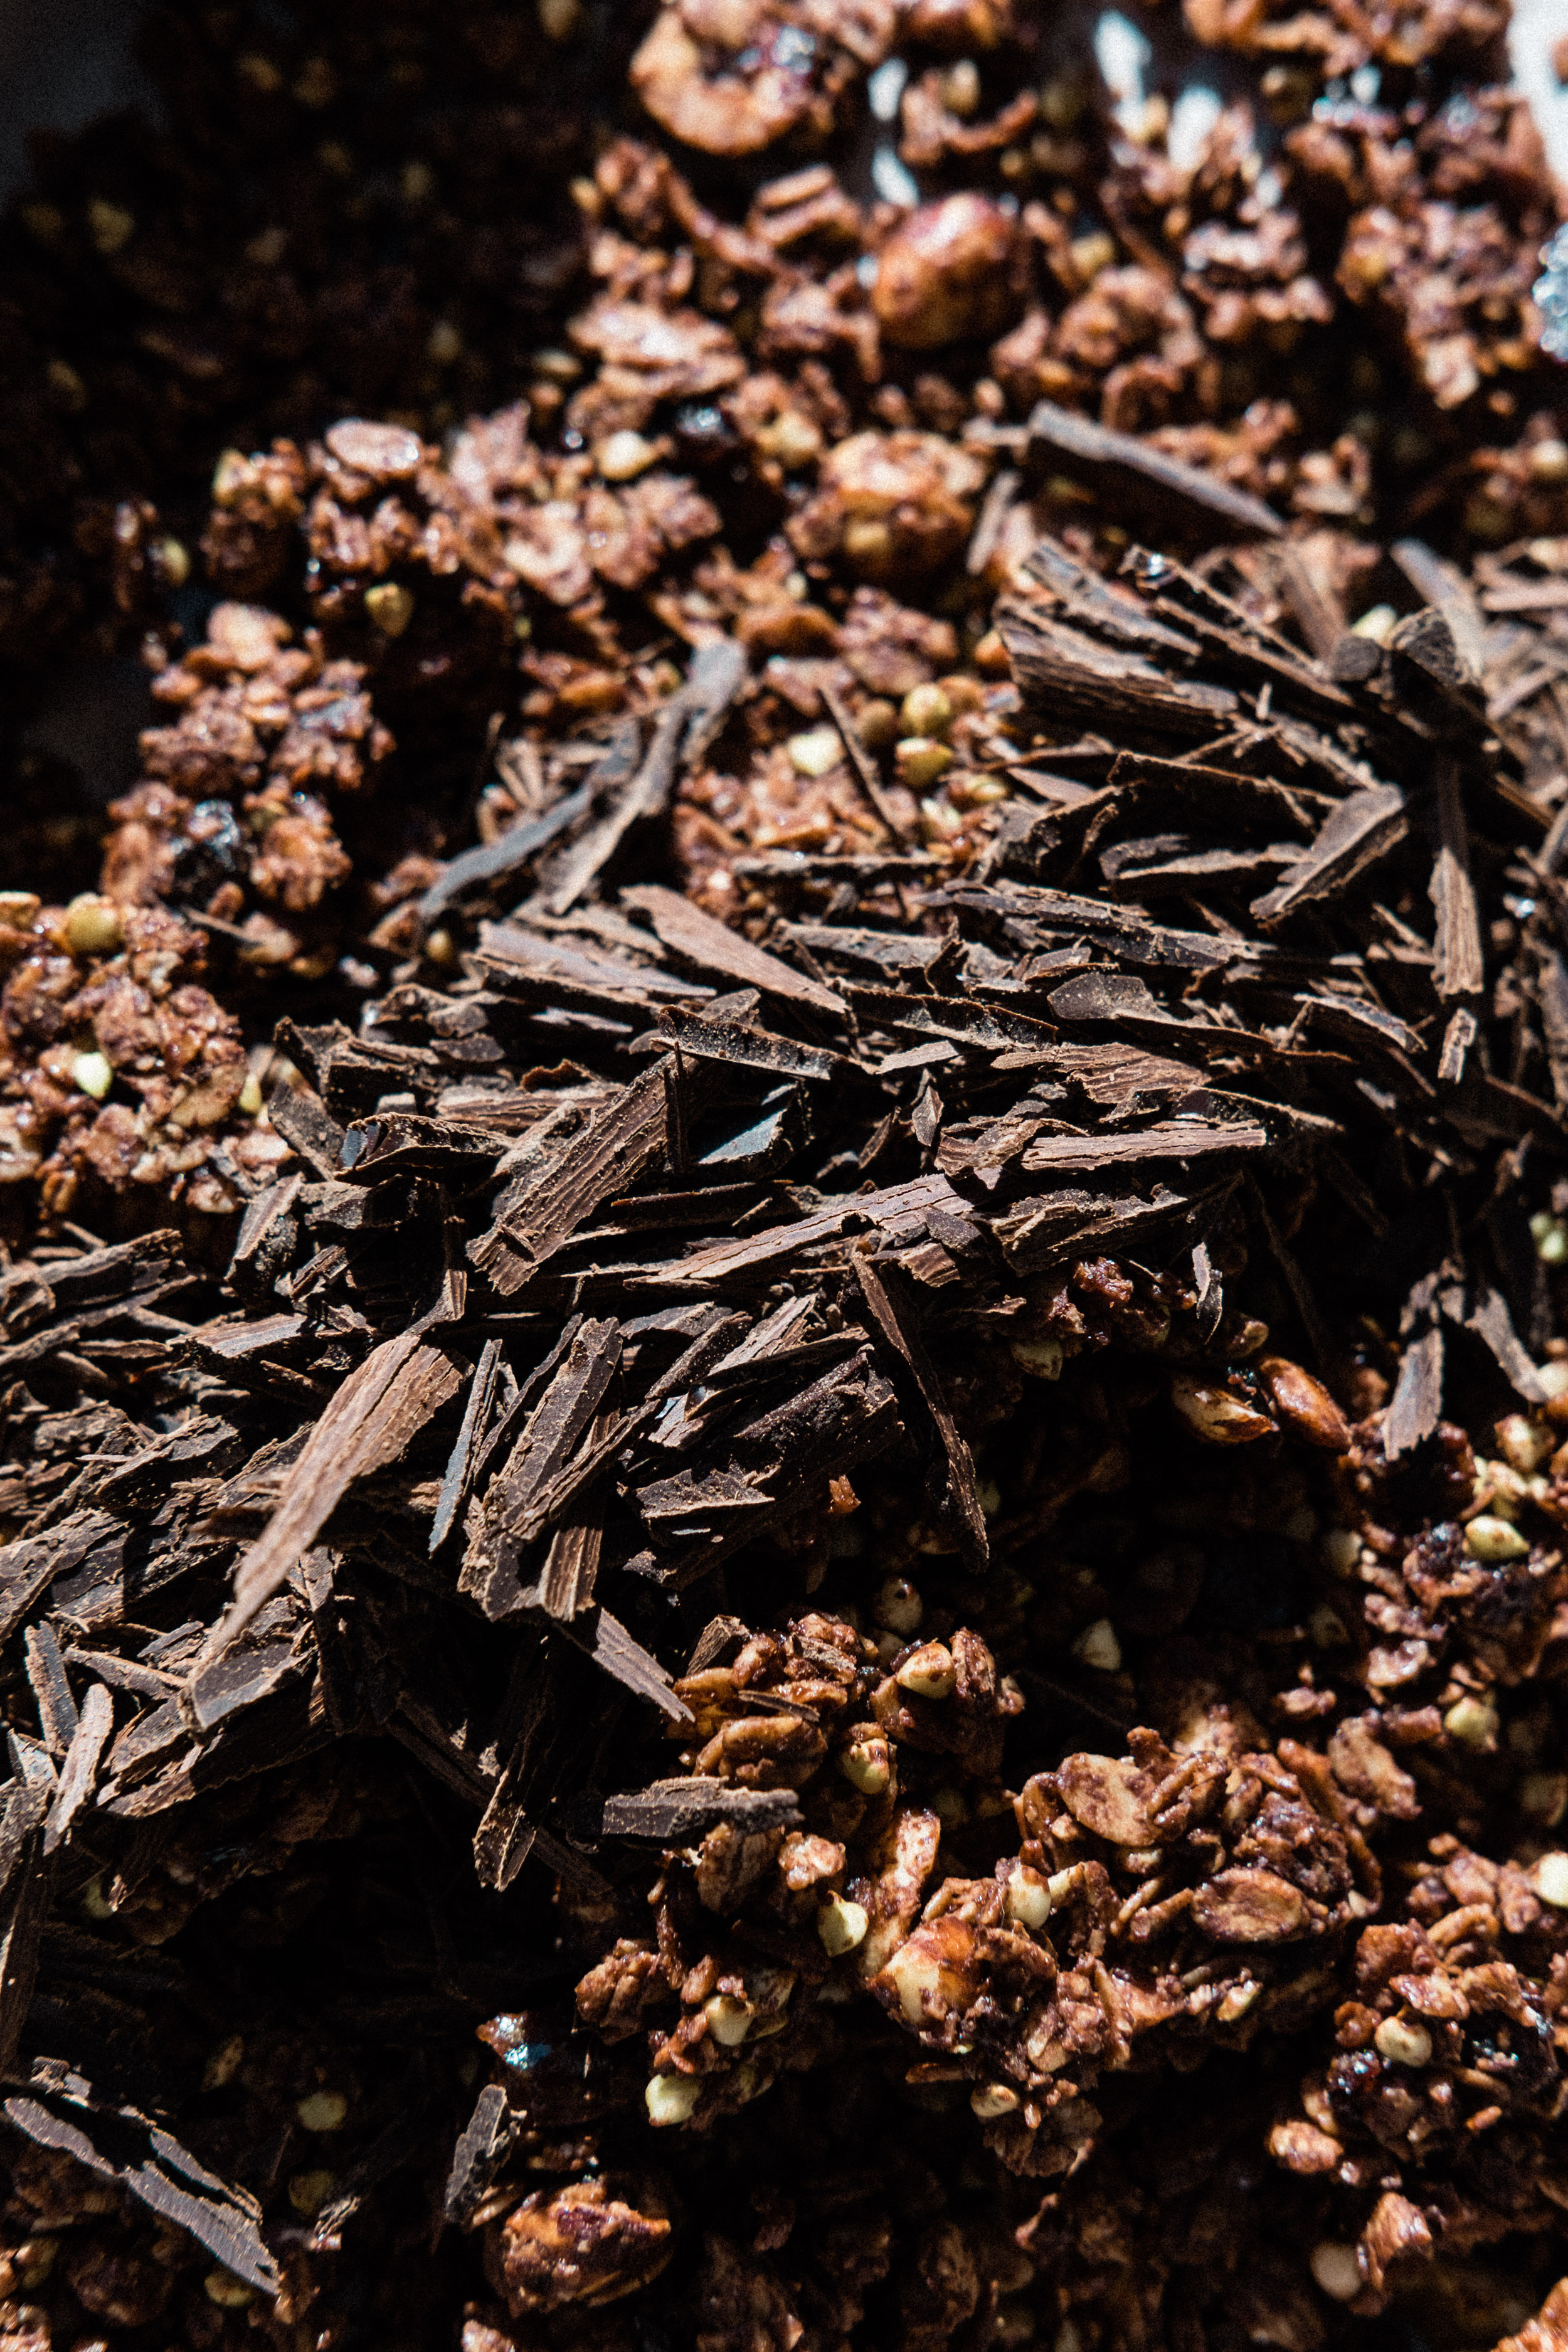
4 ounces Dark Chocolate, chopped
30g Chia Seeds (optional)
1 tsp Sea Salt (or to taste, I prefer on the coarser side, to discern the contrast between sweet & salty in each bite!)
IN A SMALL SAUCEPAN
1/3c Maple Syrup, approx.
1/4c Coconut Oil, Melted
PREP //
Set oven to 350º
Toast your nuts! Skip this if you’re in a hurry, as they will toast some in the oven anyhow. I personally love the flavor of deeply toasted nuts: I chop them coarsely, evenly, and throw them in the oven on a baking sheet, for 10-20 minutes, tossing every 5 minutes or so. Keep an eye on them, times will vary depending on the nut – Aside from turning golden, you will begin to smell their beautiful fragrance as they’re close to being ready. Let them cool, prior to moving forward with the recipe.
Bring coconut oil just to melting point in a small saucepan over low heat, and combine with maple syrup, don’t worry they won’t mix very well. (Wet mixture should be close to room temperature before combining with everything else to avoid chocolate chunks from melting.

DIRECTIONS //
In a large bowl, place all dry ingredients and mix well.
Drizzle wet mixture over dry… It should be evenly coated, without over-saturating the granola.
I use my hands, to feel the wetness of the mixture as I go. If too wet, you can always add a couple tablespoons of oats, buckwheat or coconut flakes to soak up and balance again as needed.* (TIPS below)
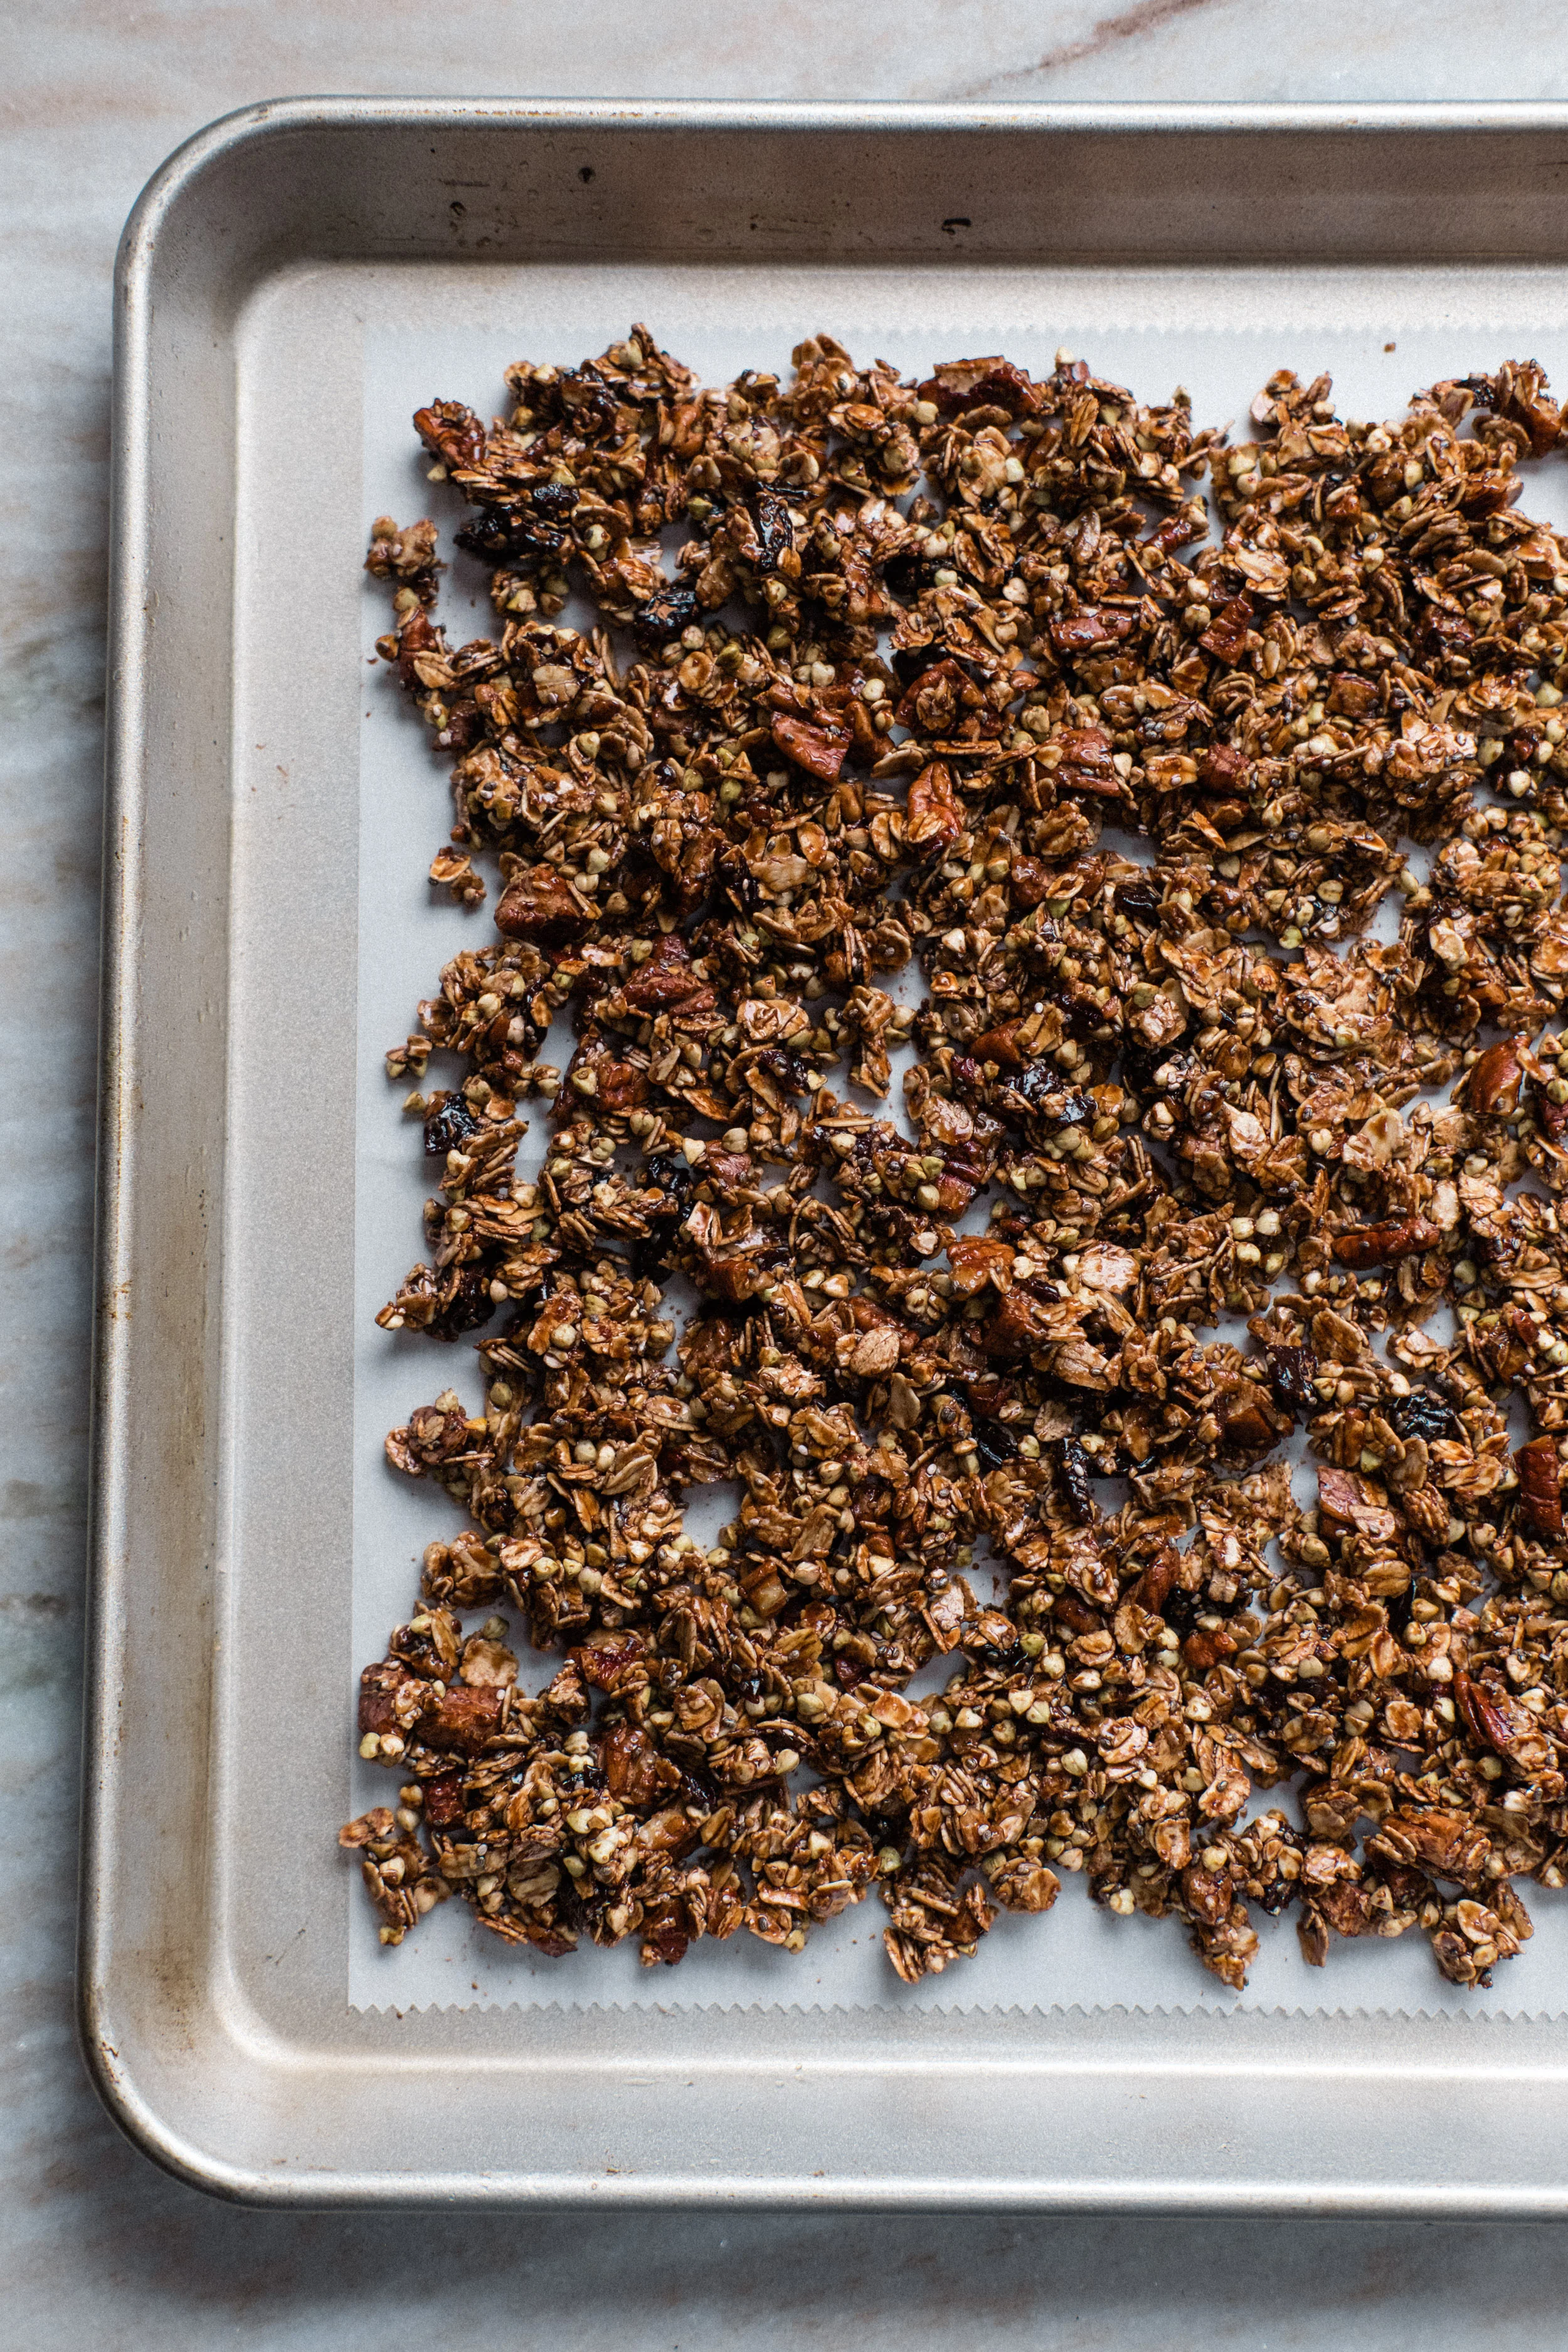
Spread granola in a thin even layer on a parchment or silpat-lined large baking sheet. For chunkier granola use fingers to pinch/press chunks together.
Place in oven for 15-20 minutes, tossing about half way to evenly bake.* (TIPS below)
*TIPS
Final mixture should be just tacky enough to form small lumps without any excess goppy-ness. Why is this important? You want the result to be crisp not chewy (unless that’s your thing).
Since we’re using cocoa powder, it can overbake and burn a little if baked for too long. Making sure your mixture isn’t overly wet before placing in the oven will allow it to toast more quickly and evenly, without burning the cocoa or melting your chocolate chunks!
It will feel slightly tacky when you pull it out of the oven… It’ll finish drying out as it cools, so again, better to not overbake it… and if you feel like it is not setting dry after cooling for a bit, you can always pop it back in the oven for an additional 3-5 minutes.
And remember, taste, always. Not just for flavor, but for doneness and consistency/texture here!